Your Cart is Empty
How to Plan a Wedding: The Complete Step-by-Step Guide With Checklists

Planning a wedding is one of life's most exciting projects, but it can also feel overwhelming. With countless decisions to make, vendors to coordinate, and details to track, it's easy to feel lost in the process. Whether you're just engaged and dreaming about your perfect day, or you're in the thick of planning and feeling stressed, this comprehensive guide will walk you through every step of the wedding planning journey.
From your first conversations as an engaged couple through to the final thank-you notes, we'll cover everything you need to know to create a beautiful, organised, and less stressful wedding planning experience. This guide follows the same logical flow as the Yop & Tom Wedding Planner, so you can keep all your ideas, decisions, and important details in one beautiful, organised place.
The key to successful wedding planning is not perfection, it's progress. By breaking the process into manageable steps, creating simple systems, and maintaining regular communication with your partner, you'll be able to enjoy the engagement period while building the wedding of your dreams.
Engagement and Early Planning Tips
The moment you get engaged is magical, but it's also the perfect time to establish a few foundations that will make the months ahead much smoother. Before you dive into Pinterest boards and supplier research, take a step back and align on the bigger picture with your partner.
Setting your foundation
Start by having honest conversations about what you both want your wedding day to feel like. Do you want an intimate gathering of close family and friends, or a large celebration? Are you dreaming of something formal and elegant, or relaxed and personal? How hands-on do you want to be during the planning process?
These early conversations shape everything that follows. If one of you is imagining a black-tie city wedding and the other is picturing a countryside garden party, it is much better to discover that early and find the overlap together.
Creating simple systems
Set up a shared system straight away. That might be a wedding planner, a shared drive, a physical folder, or all three. Keep quotes, contracts, invoices, moodboards, guest details, and supplier notes in one place. A simple naming format such as “Supplier Name - Document Type - Date” makes everything easier to find later.
It also helps to create a regular planning rhythm. A weekly 30-minute check-in is usually enough to review progress, make decisions, and keep both partners involved. Small, regular conversations are far better than letting everything pile up into a stressful catch-up.
Adopting the right mindset
Try to keep the focus on progress rather than perfection. Weddings are full of moving parts, and not every tiny detail will unfold exactly as imagined. That does not make the day any less special. In fact, some of the most memorable moments are the unscripted ones.
Most importantly, let yourselves enjoy being engaged. This is not just a project to manage. It is a meaningful chapter in your life together.

Yop & Tom's Wedding Planners
Define Your Wedding Vision
Your wedding vision acts as a guide for every decision that follows. It helps you choose between options more easily and creates a celebration that feels consistent, personal, and true to you.
Create a simple vision statement
Write a one-sentence description of how you want the day to feel. For example: “Elegant and timeless with warm candlelight”, “Relaxed and joyful with natural details”, or “Modern, romantic, and understated”.
This statement becomes a useful filter. When you are choosing between venues, flowers, invitations, or music, ask yourself whether each option fits the atmosphere you want to create.
Choose your style direction
You do not need to fit neatly into one category, but it helps to identify a style family that feels close to your taste. Classic, modern, romantic, natural, colourful, minimalist, and bohemian are all useful starting points. From there, you can blend elements that feel like you.
Build a moodboard
Gather 12 to 24 images that reflect the mood, colours, textures, and styling you are drawn to. Look for patterns in what you save. You will probably notice that certain colours, spaces, table settings, or floral styles keep appearing. Those repeated themes are a strong clue to what you actually want.
Identify your non-negotiables
List the three elements that matter most to you. It might be incredible food, live music, great photography, a specific type of venue, or simply having plenty of time with your guests. Knowing your non-negotiables helps you make better budget decisions and stay focused when planning becomes noisy.
Wedding Planning Timeline: What to Do and When
A clear wedding planning timeline helps you pace the work and avoid doing everything too late. The exact order may shift depending on your date and location, but the rhythm below works well for many couples.
12+ months before
Set your budget, sketch out your guest count, and begin researching venues. Start thinking about season, location, and overall atmosphere. This is also a good time to begin looking at photographers, planners, and caterers.
9 to 11 months before
Book your venue and secure key suppliers such as your photographer, videographer, and caterer. Begin wedding outfit research and, if needed, reserve accommodation blocks for guests.
6 to 8 months before
Send save-the-dates, book your florist and entertainment, schedule tastings, and plan your beauty trials. This is also the right time to think more seriously about ceremony details and décor.
4 to 5 months before
Finalise your menu, order rings, arrange transport, and make progress on invitations and day-of stationery. Confirm design choices and begin refining the practical flow of the day.
2 to 3 months before
Send invitations, confirm readings or vows, buy wedding party gifts if you are giving them, and start shaping your detailed timeline. Keep your supplier details updated in one place.
1 month before
Collect RSVPs, build your seating plan, obtain your marriage licence if required, and hold final meetings with key suppliers.
1 to 2 weeks before
Provide final guest numbers, pack your emergency kit, prepare payments or tips if needed, rehearse your vows, and hand over the final timeline to anyone helping manage the day.
How to Choose the Right Wedding Venue
Your venue is one of the most important decisions in the entire planning process. It affects your guest count, budget, atmosphere, logistics, and styling possibilities.
What to look for when viewing venues
Look beyond the headline beauty of the space. Check capacity, accessibility, layout, weather contingency plans, parking, lighting, supplier access, and what is included in the hire fee. If the ceremony or reception is outdoors, always ask about the backup plan.
After each viewing, note what you loved, what felt less right, and any practical limitations. Venue details blur together surprisingly quickly, so it helps to write your thoughts down on the same day.
Trust the practical and emotional fit
The right venue usually makes sense on both levels. It works logistically, and it feels right emotionally. You should be able to picture your guests there and imagine the day unfolding naturally in the space.
Wedding Guests, Invitations, and Stationery
Clear guest communication makes the experience smoother for everyone, and thoughtful stationery helps create a cohesive wedding from the first save-the-date to the final thank-you note.
Build a guest list system
Use a spreadsheet or planning tool to track names, addresses, invitation status, RSVPs, dietary notes, plus-ones, and accessibility needs. Keeping this tidy will save a lot of stress later, especially when final numbers are due.
Plan a cohesive stationery suite
Your save-the-dates, invitations, RSVP cards, menus, place cards, seating plan, and signage should feel connected. They do not all need to match perfectly, but they should share the same tone and visual direction.
Include all the essential information clearly and point guests to a wedding website if you need a place for additional travel details, timings, and FAQs.
Seating Plans and Reception Layout
The way your reception is laid out affects the energy of the whole evening. A thoughtful floor plan helps the event feel comfortable, social, and easy to move through.
Plan the flow first
Before assigning guests to tables, think about the larger layout. Where will the dance floor go? Where is the bar? Where will speeches happen? Is there enough room for guests and suppliers to move around easily?
Seat guests thoughtfully
Try to group guests by connection and comfort. Think about who already knows each other, who would enjoy each other's company, and whether anyone may need easier access due to age or mobility. The goal is not perfection, just a seating plan that feels kind and sensible.
Wedding Suppliers and Contracts
Keeping all supplier details in one place and standardising what you ask makes the planning process much more manageable.
Core supplier categories
Typical suppliers may include your venue, caterer, cake maker, florist, photographer, videographer, hair and makeup artists, transport provider, stationer, rental company, entertainment, lighting supplier, and planner or coordinator.
What to confirm before booking
Before signing, ask about availability, deliverables, set-up and strike times, power needs, proof rounds, public liability insurance, cancellation terms, and overtime rates. Review contracts carefully and make sure anything important is confirmed in writing.
How to stay organised during planning
Use one point of contact for each supplier where possible. Save contracts and invoices in one place, and keep a shared day-of timeline that all key suppliers can work from.
Wedding Budget Planning Tips
Your budget is not just about staying under a number. It is about deciding what matters most and spending accordingly.
Start with priorities
Break the budget into categories and then rank those categories by importance. If photography matters more than flowers, let the budget reflect that. If you care deeply about food and guest experience, give that area more space.
Leave room for hidden extras
Postage, alterations, service charges, delivery fees, tips, signage, beauty trials, and last-minute purchases can quietly add up. Build in a contingency buffer from the start.
Track every payment
Use a clear payment tracker for deposits, balance due dates, and remaining costs. Set reminders a few days in advance so nothing catches you out.
Wedding Outfits, Hair, and Makeup
Your outfit and beauty choices should help you feel confident, comfortable, and like yourself.
Plan earlier than you think
Made-to-order outfits and alterations often take longer than expected. Start early, especially if you want time to explore different options without pressure.
Think beyond the look
Comfort matters. Consider the weather, how easy it is to move in your outfit, and whether it still feels right for the full length of the day.
Book beauty trials
Hair and makeup trials help you refine the look and feel more relaxed on the day. Bring reference images, but also be honest about your normal style and what feels natural to you.
Flowers, Décor, and Styling
Good styling supports the space rather than overwhelming it. You do not need to decorate every corner for a wedding to feel beautiful.
Focus on key visual moments
Think about where décor has the biggest impact: the ceremony backdrop, tables, entrance, bar, and head table are often the most worthwhile areas to prioritise.
Work with the season
If you are using flowers, being open to seasonal suggestions can give you a better result than forcing one exact look. Share your palette and moodboard clearly, then let your florist guide the finer details.
Food, Drink, and Wedding Cake
Guests may not remember every styling detail, but they will remember whether they felt well looked after.
Choose a menu style that suits the atmosphere
A formal plated meal feels different from sharing platters or food stations. Pick the style that matches your celebration and your crowd.
Think about flow as well as flavour
Consider when drinks are served, how long guests wait between courses, and whether there is enough food during transitions like the drinks reception or evening dancing.
Keep cake choices practical too
Your cake should look good, but also fit the running order and service plan. Confirm delivery timing, storage, and who will handle cutting and serving.
Photography and Videography
Your photos and films are what remain after the day itself, so this is one of the most meaningful supplier decisions you will make.
Look for consistency
Do not judge a photographer or videographer by highlight images alone. Review full galleries if possible. You want someone who captures the whole day well, not just one perfect golden-hour shot.
Make a focused shot list
Create a practical list of important family groupings and key moments, but keep it concise. Too many requested shots can make the day feel over-managed.
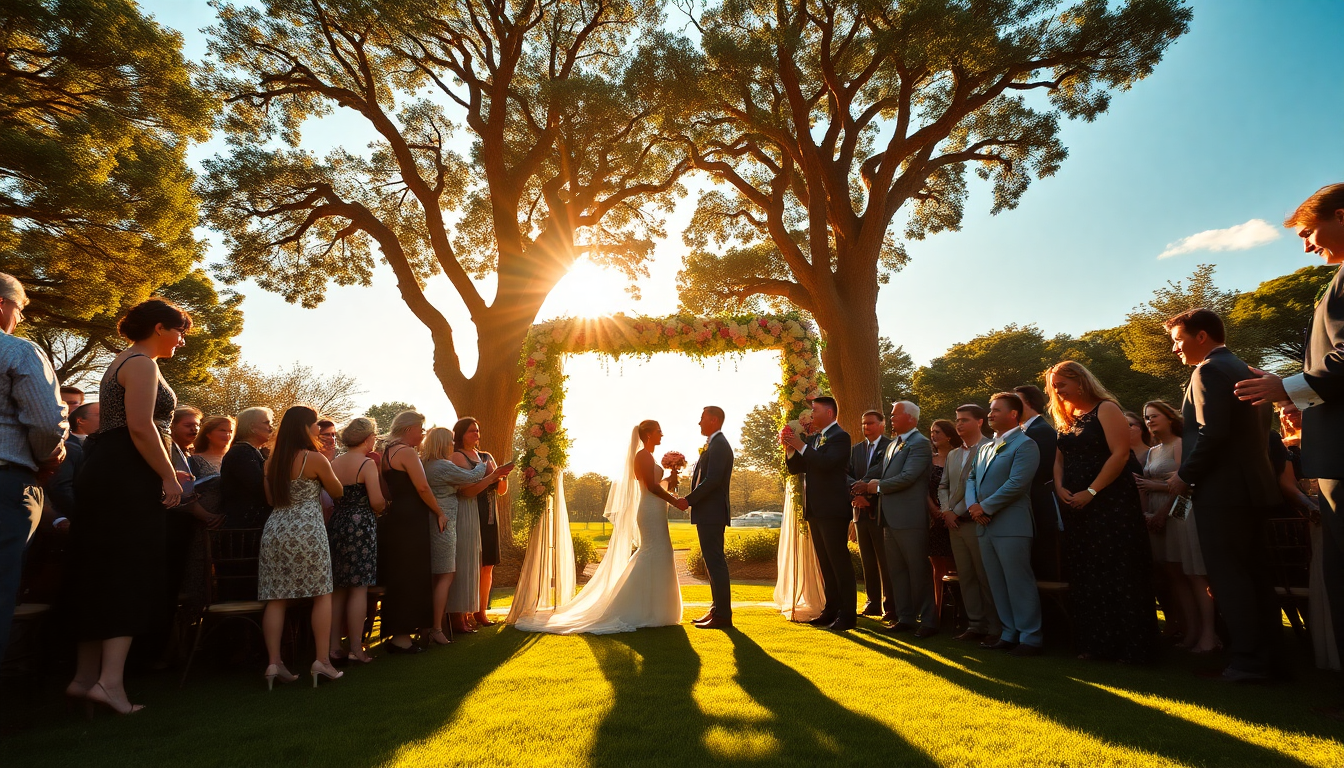
Ceremony Planning
The ceremony is the heart of the day. It deserves just as much care as the reception.
Plan the flow clearly
Think through the order of events: arrival, processional, welcome, readings, vows, rings, signing, and exit. Confirm who is doing what and who is cueing each stage.
Choose meaningful details
Whether you are selecting readings, writing personal vows, or choosing music, focus on what feels sincere and meaningful rather than what feels expected.
Your Wedding Day Timeline
A realistic timeline makes the day feel calm and well held.
Build in buffer time
Hair and makeup can run late. Travel can take longer than expected. Guests move slowly. A little breathing room keeps everything feeling more relaxed.
Share the final version widely
Make sure your key suppliers, venue contact, coordinator, and any trusted friends helping out have the latest version of the schedule.
Guest Experience and On-the-Day Comfort
A wedding feels especially generous when guests know where to go, feel looked after, and are able to settle into the day easily.
Think about the full experience
Clear signage, useful transport details, enough seating, accessible facilities, and thoughtful timing all make a real difference. Small comforts like water, shade, blankets, or clear directions can have a big impact.
Final Wedding Planning Checklist
As the day gets close, shift out of planning mode and into confirmation mode. This is the stage where you tighten up the details and protect your energy.
- Confirm all supplier timings and final balances
- Complete the seating plan and final guest list
- Print stationery, signage, menus, and place cards
- Pack outfits, shoes, jewellery, and accessories
- Prepare your emergency kit
- Gather rings, vows, and legal documents
- Share the final timeline with everyone involved
- Confirm dietary requirements and final catering numbers
- Assign on-the-day responsibilities
- Prepare tips or final payments if needed
- Pack an overnight bag if relevant
- Get some rest and keep the final days as calm as possible
After the Wedding
There are a few last tasks after the celebration itself, but this part should feel satisfying rather than stressful.
Return rentals, collect personal items from the venue, store your outfit properly if you want to preserve it, back up your photos when they arrive, and send thank-you notes while everything is still fresh in your mind.
It is also worth taking a little time together to reflect on the day. The moments you remember most are not always the ones you expected.
Why Use a Wedding Planner Book?
Even if you are not hiring a professional planner, having a dedicated wedding planner book or system can make the entire process feel more manageable. It gives your ideas a place to live, your decisions structure, and your planning a clear rhythm.
That is exactly why the Yop & Tom Wedding Planner is designed the way it is. It follows the natural flow of planning, from early inspiration and guest lists through to budgets, suppliers, timelines, and final details. It helps you stay organised without taking the joy out of the process.
Final Thoughts
Wedding planning works best when you take it step by step. You do not need to have every answer right away. What you do need is a clear starting point, a simple system, and the confidence to keep moving forward.
Focus on what matters most to you as a couple. Make decisions that support the atmosphere you want to create. Stay organised, communicate openly, and leave room for joy in the middle of the logistics.
A beautiful wedding is not one where every tiny detail is perfect. It is one that feels true to you, runs with care, and gives you the space to be fully present in one of the most meaningful moments of your life.
If you are looking for a beautifully structured way to keep everything together, the Yop & Tom Wedding Planner is made to help you plan with clarity, confidence, and a little more calm.
Wedding Planning FAQ
When should you start planning a wedding?
Most couples start planning 12 months in advance, though shorter and longer timelines can both work. The earlier you begin, the more choice you usually have with venues and key suppliers.
What should you book first when planning a wedding?
The venue is usually the first major booking, followed by suppliers with limited availability such as photographers, videographers, and caterers.
How do you plan a wedding without getting overwhelmed?
Break the process into stages, keep all important details in one place, and schedule regular planning check-ins rather than trying to do everything at once.
How do you organise wedding suppliers?
Keep contracts, invoices, contact details, due dates, and notes together in a single system. A shared folder, spreadsheet, or wedding planner makes this much easier.
What is the most important part of wedding planning?
The most important part is aligning on your priorities as a couple. Once you are clear on what matters most, the rest of the decisions become much easier.
Do you need a wedding planner book?
You do not strictly need one, but a wedding planner book can make the process far easier by giving you one place to track ideas, suppliers, budgets, timelines, and guest information.