


Congratulations! You are about to become a bullet journaler. Your new journal has arrived and you are ready to get started. But first — you need to set up your bullet journal.
Here is a simple three-step bullet journal setup for beginners, plus collection ideas once your foundation is in place.
Bullet journal setup for beginners
When you are new to bullet journaling, it is tempting to buy all the things: highlighters, washi tape, pens, pencils, and more. When you are setting up for the first time, we recommend keeping it simple.
Start with the basics:
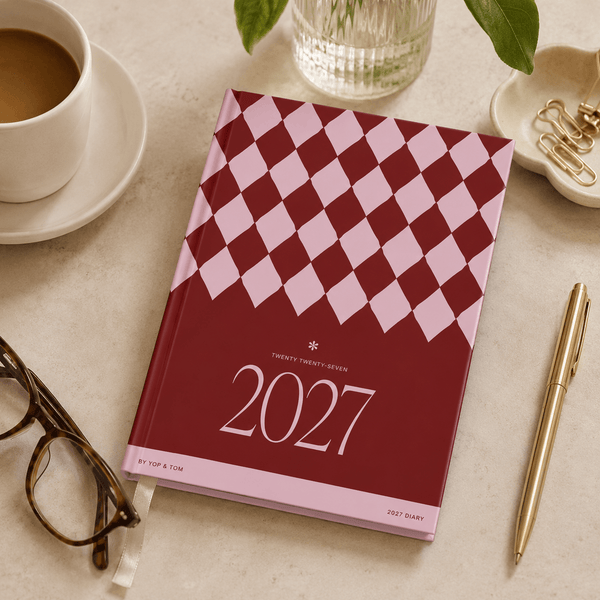
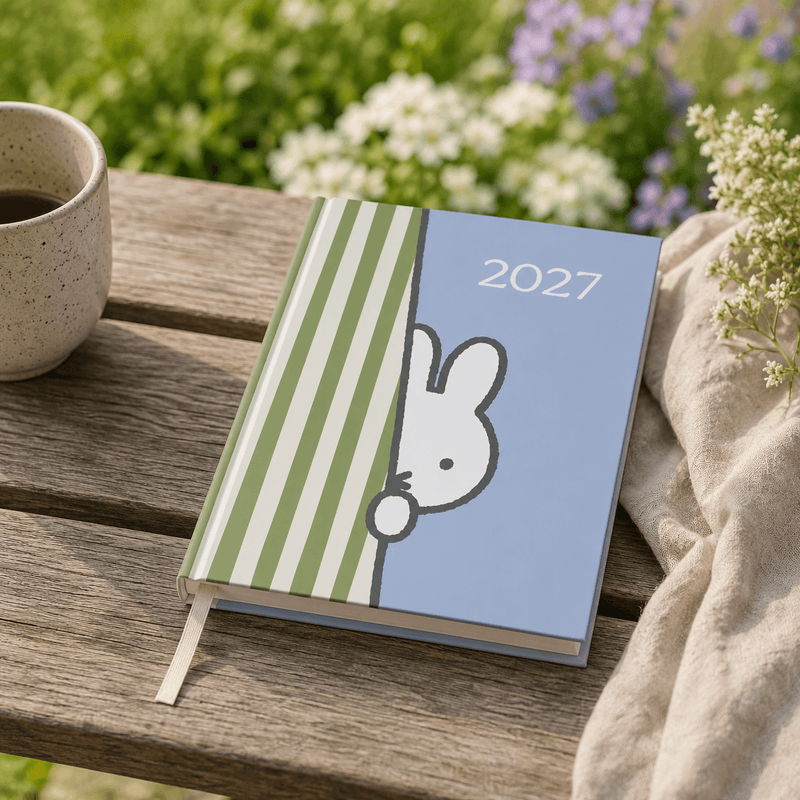
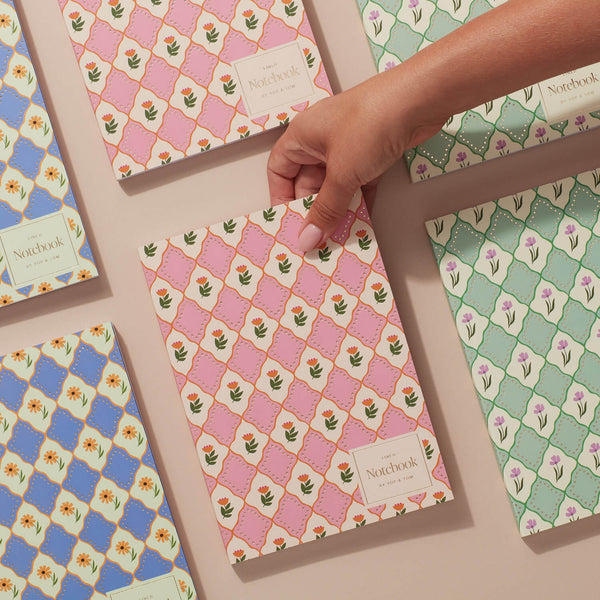
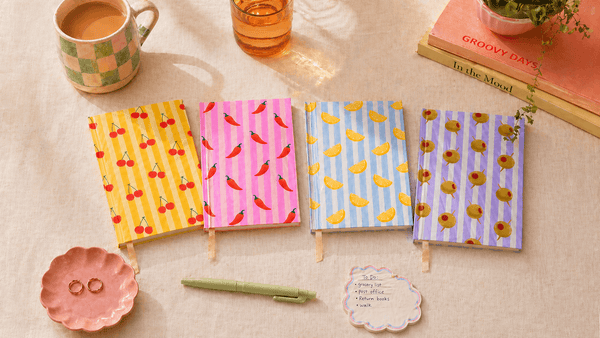
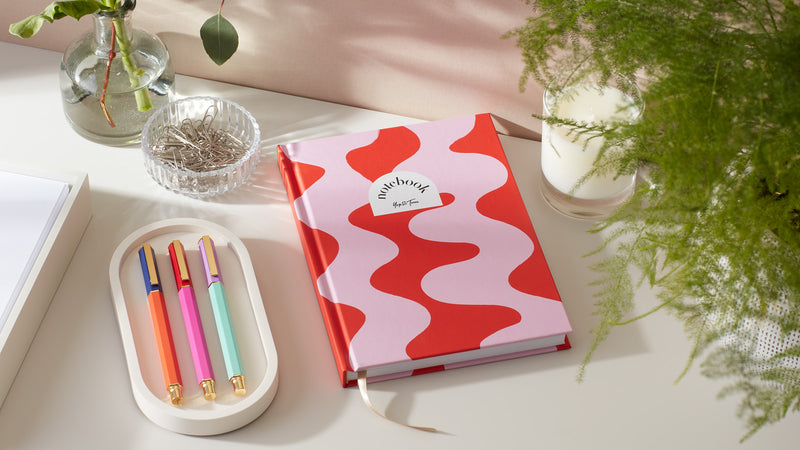
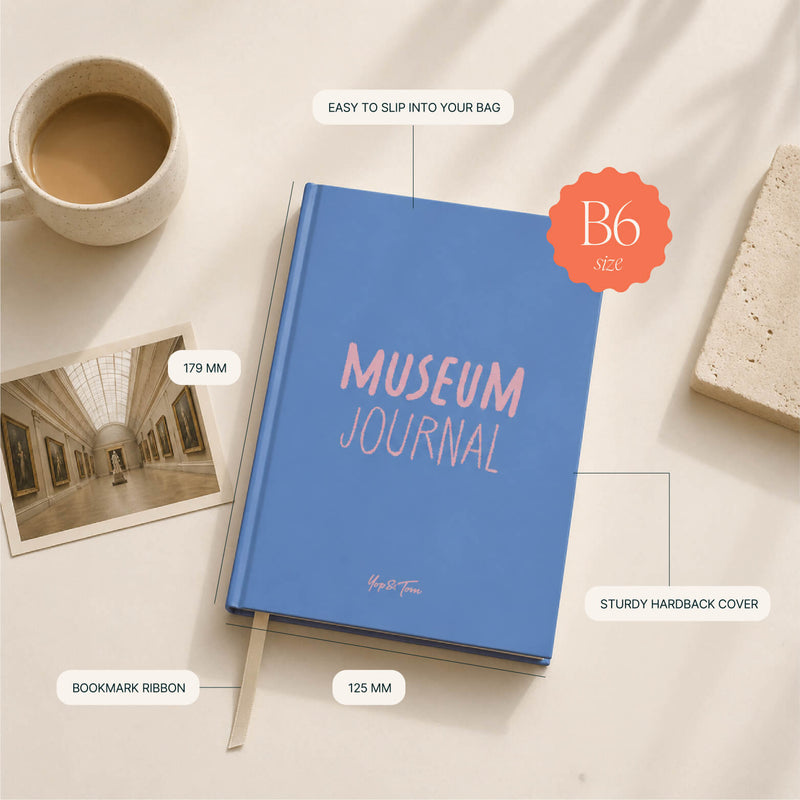
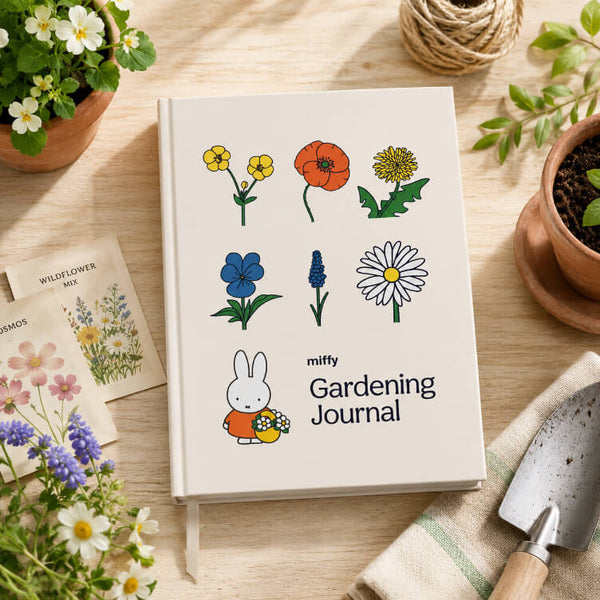
- A notebook in a design you love — browse Luxe Pattern notebooks or museum journals for flexible pages you can structure yourself
- A pencil
- A writing pen
- A pack of colourful pens in a medium point size
That is all you need. After a few weeks of practice, you will understand what you actually use. That is the joy of bullet journaling: it is 100% flexible and tailored by you.
New to the method? Read our guide to bullet journaling or explore the bullet journal key before you start.
Step 1 — Practice rapid logging
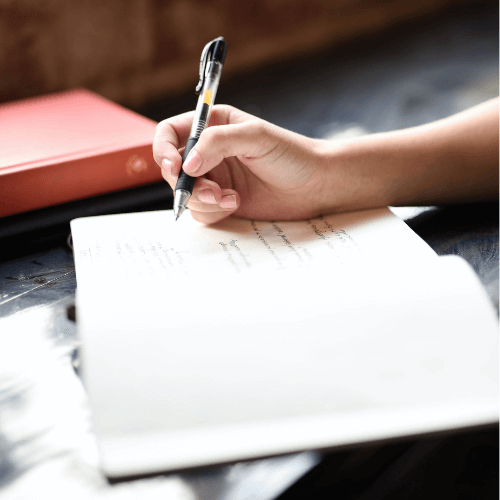
Ever wished you could write as fast as you can type? That is where rapid logging comes in.
Rapid logging is the foundation of bullet journaling. It uses bullet points to get thoughts onto paper with speed.
Tasks
Items that need to be done are written next to an empty circle. Customise that circle depending on what happens next:
- ○ Task is waiting to be actioned
- × Task has been completed
- > Task has been migrated to the future
- < Task is scheduled for a specific day or week
- — Task is no longer relevant
With rapid logging, checking project status takes a single glance.
Events
Ryder Carroll designed rapid logging to log events simply, without diving deep into feelings every time. Events use an open circle:
- ○ Bought my first bullet journal
- ○ Met Sara for a pottery class
- ○ Had dinner with mum
Sometimes you will want a separate section for doodles, mementoes, or reflections on experiences.
Notes
Notes are made with a simple dash:
- — Try adding blue to the painting
- — Tennis booking opens on Saturday
- — Would Northumberland be a good spot for the holiday?
Park ideas to revisit in hours, days, or months. Rapid logging works in class, in meetings, or for creative projects.
Step 2 — Set up your key
Your key is your guide to the journal. Everything you note down — to-do lists, memories, plans — is accompanied by a symbol so you know what each entry means.
Bullet codes
On one side, add your bullet codes for rapid logging. You can follow the system above or create something more personal: a symbol for favourite ideas, or a mark that turns notes into actions.
Colour codes
If you use colour coding, track what each colour means in your key. Work notes in blue, urgent tasks in red — you do not have to decide everything upfront. Add new colours as you go.
For more on symbols, see our bullet journal key guide.
Step 3 — Set up your index
Your bullet journal setup is almost complete. The index is your contents page — except it does not have to be arranged sequentially. Build it as you work.
You might start by adding your first collection, e.g. Mood Trackers, alongside its page numbers “3, 14, 22”. Then index new collections as you create them. Use the index to find thoughts, notes, and ideas quickly.
Bullet journal setup ideas
Now that you have set up your bullet journal, it is up to you how you use it. These are some of our favourite collection ideas — mix and match as you wish:
- Future log — store plans for the year ahead
- Monthly log — track tasks for the coming month
- Daily log — track tasks for each day
- Goal log — make and set goals
- Habit tracker — monitor progress; see our habit tracker guide
- Mood journal — monitor mood throughout the month
- Moon journal — observe how thoughts change with the moon cycle
- Vacation plans — store trip ideas and activities
- Creative notes — save big ideas for future action
- Memorable moments — save quotes and thoughts to revisit
Yop & Tom tip: use different title styles to introduce each section and keep spreads easy to scan.
However you use your bullet journal, this setup process creates a foundation that will serve every collection you add.
Choose your journal
Pick a notebook you will want to open every day. Browse Luxe Pattern notebooks and the full journal collection.
